Gallery

Behind the scenes
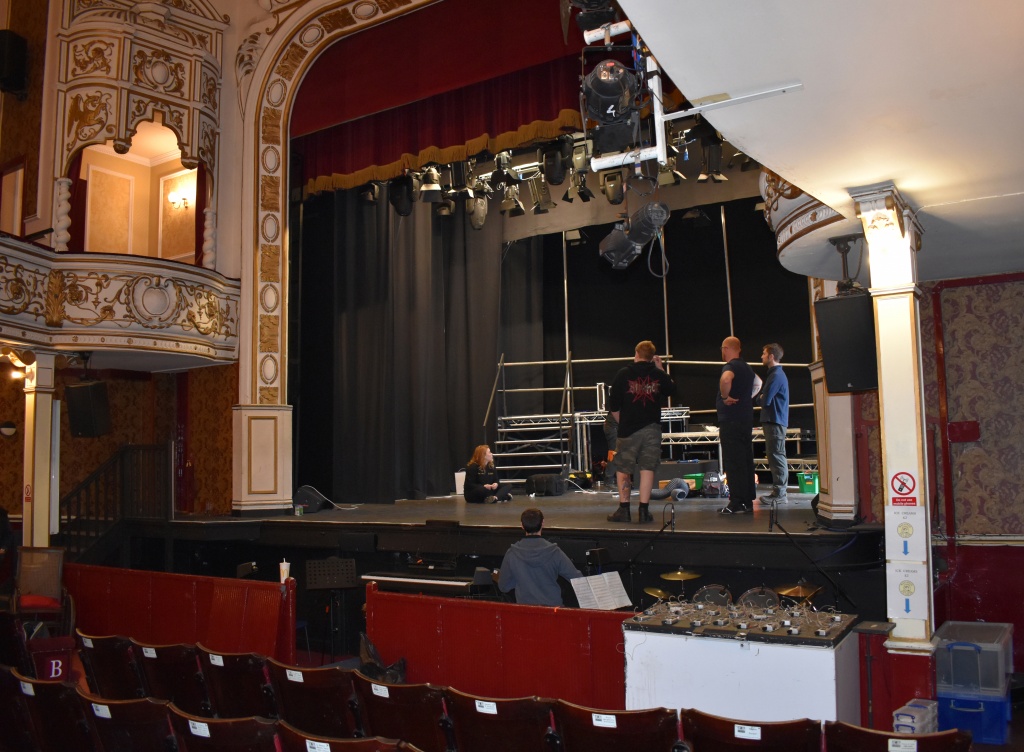
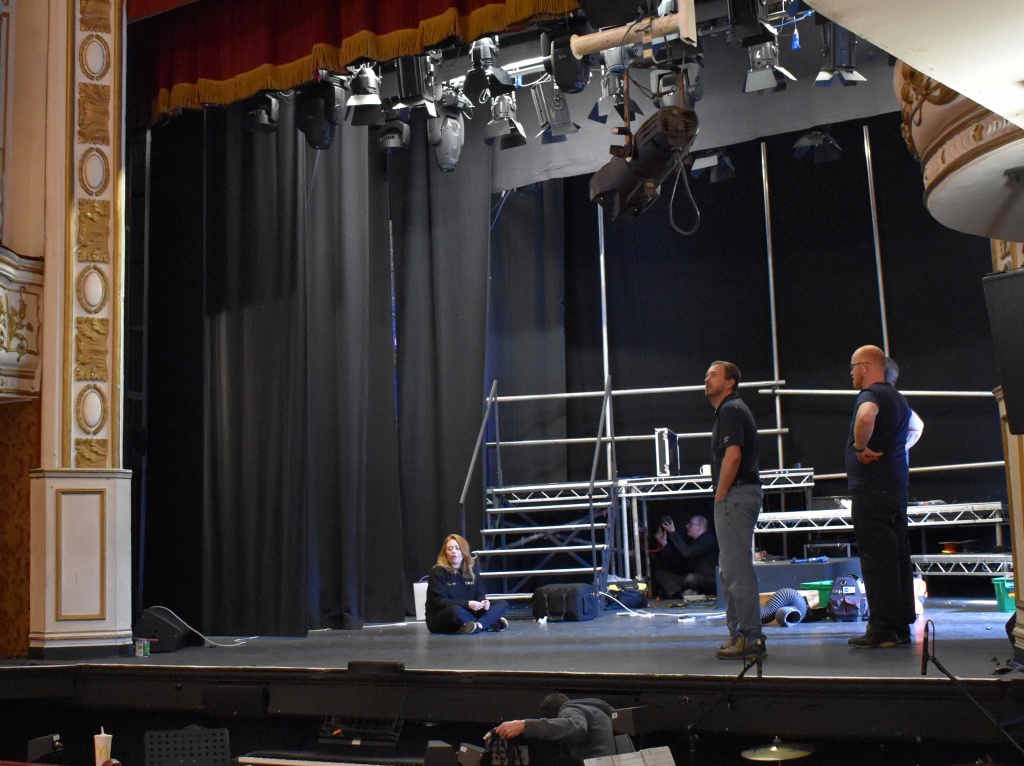
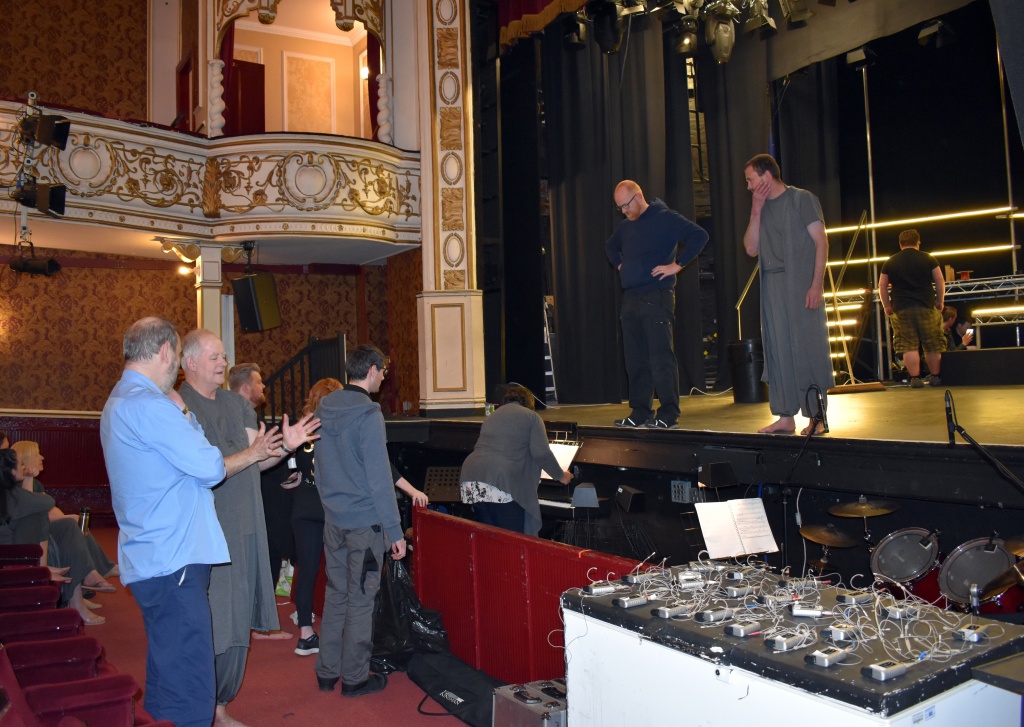
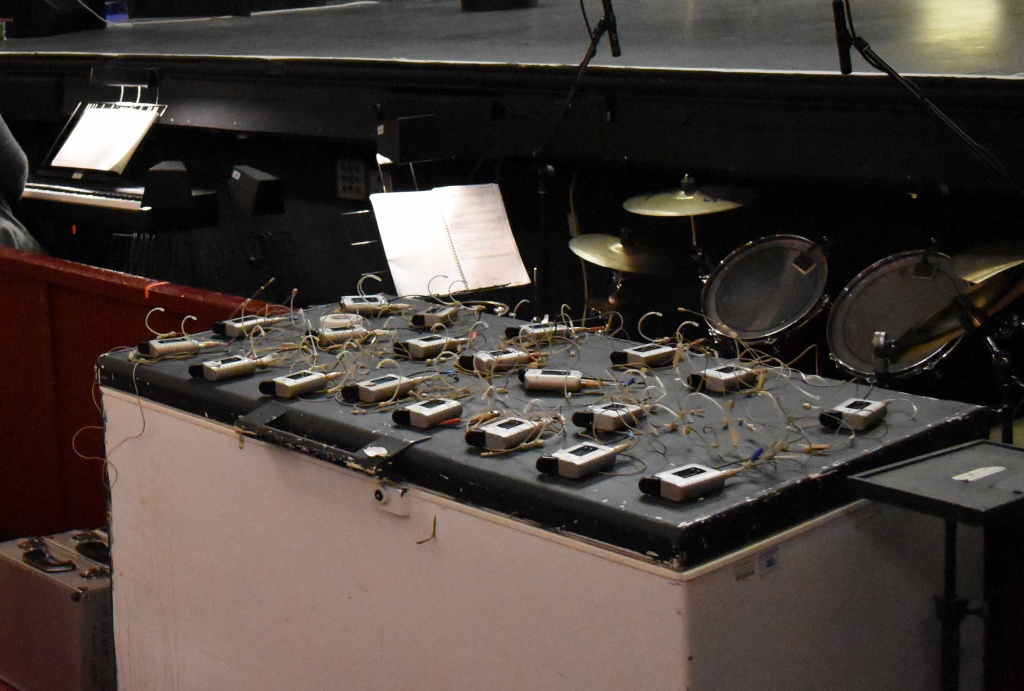
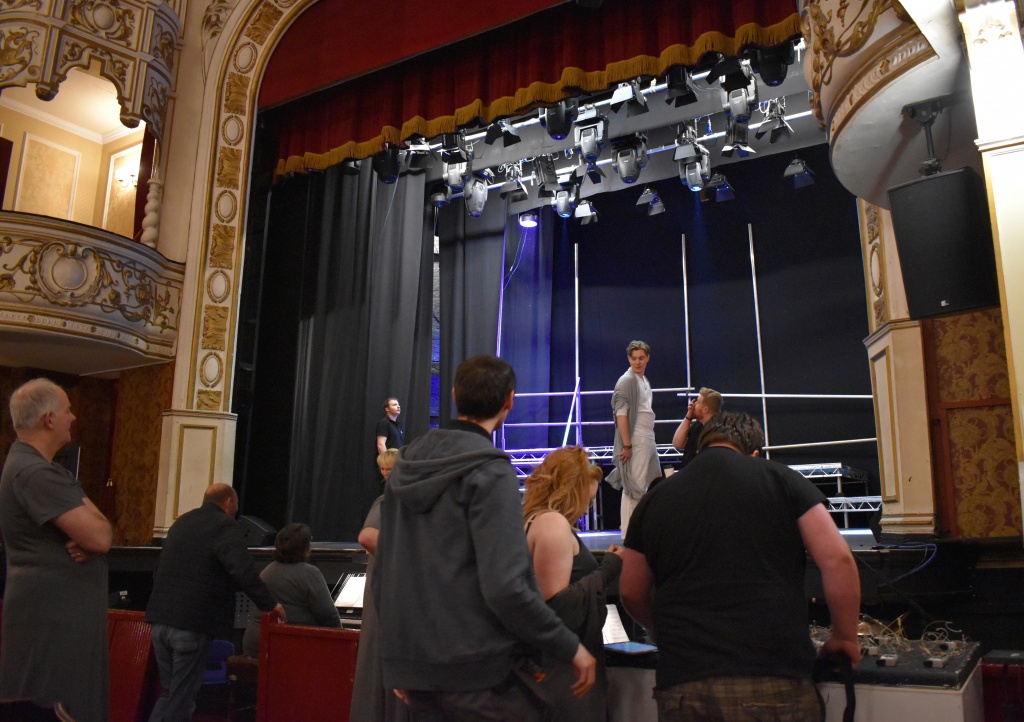

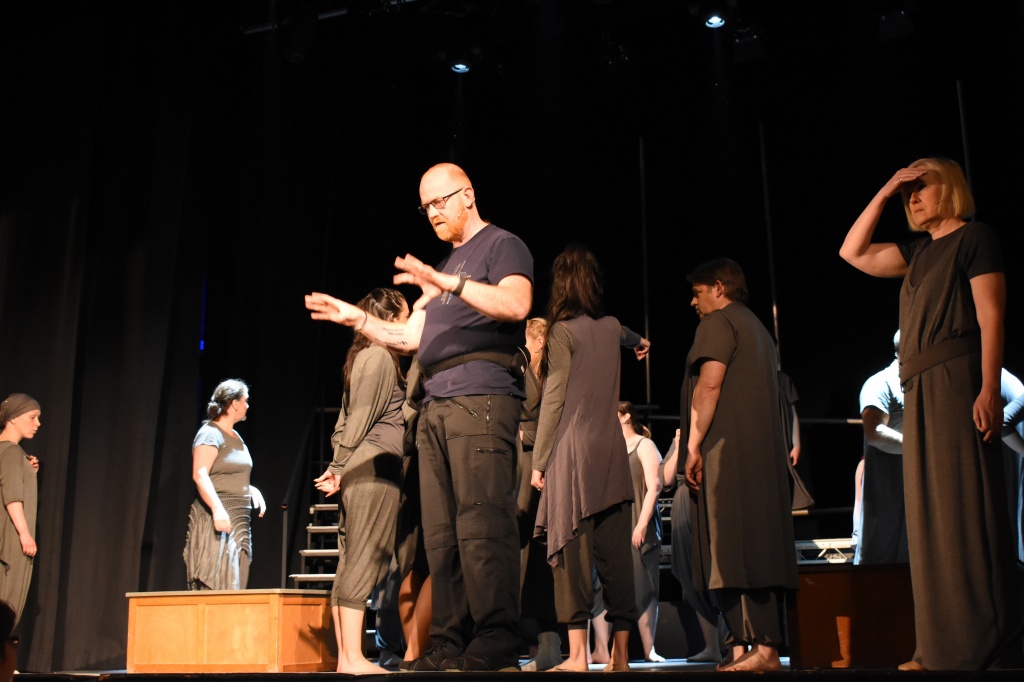
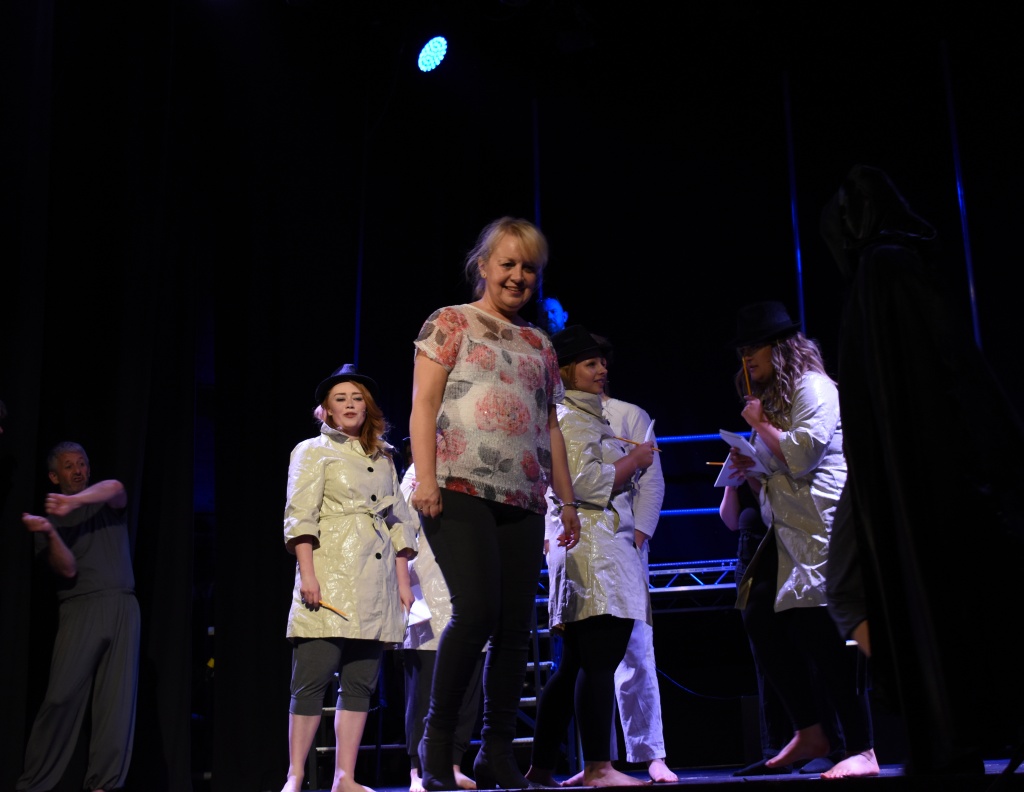
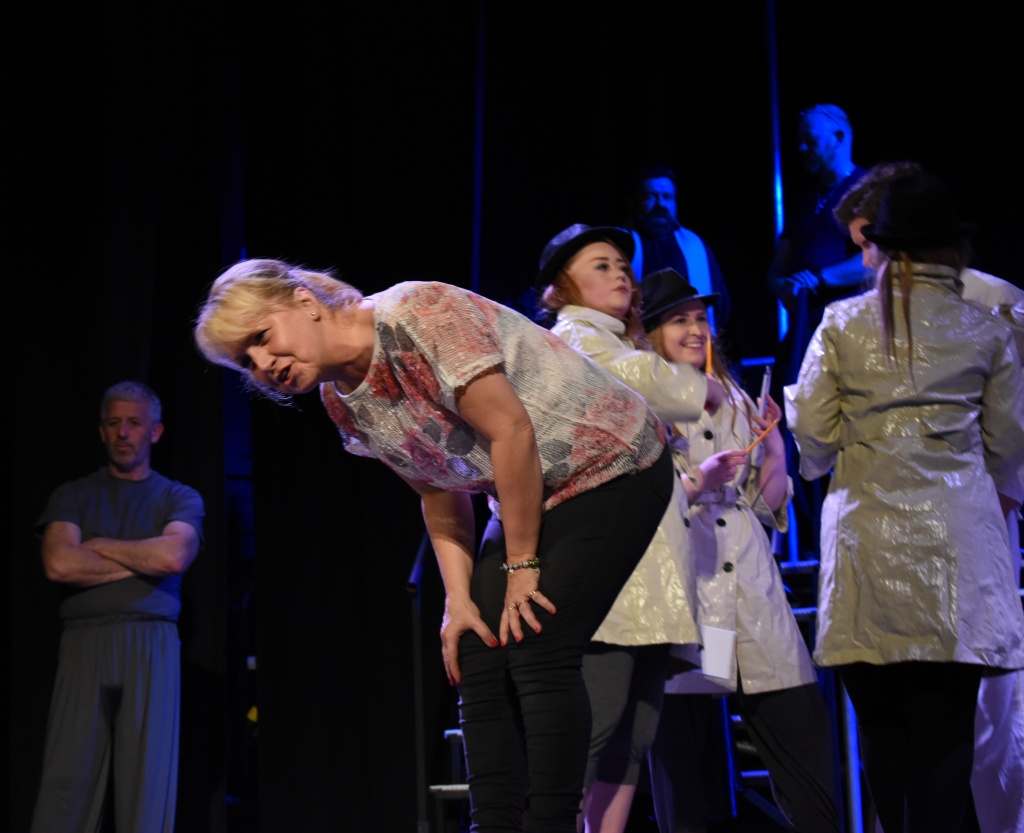
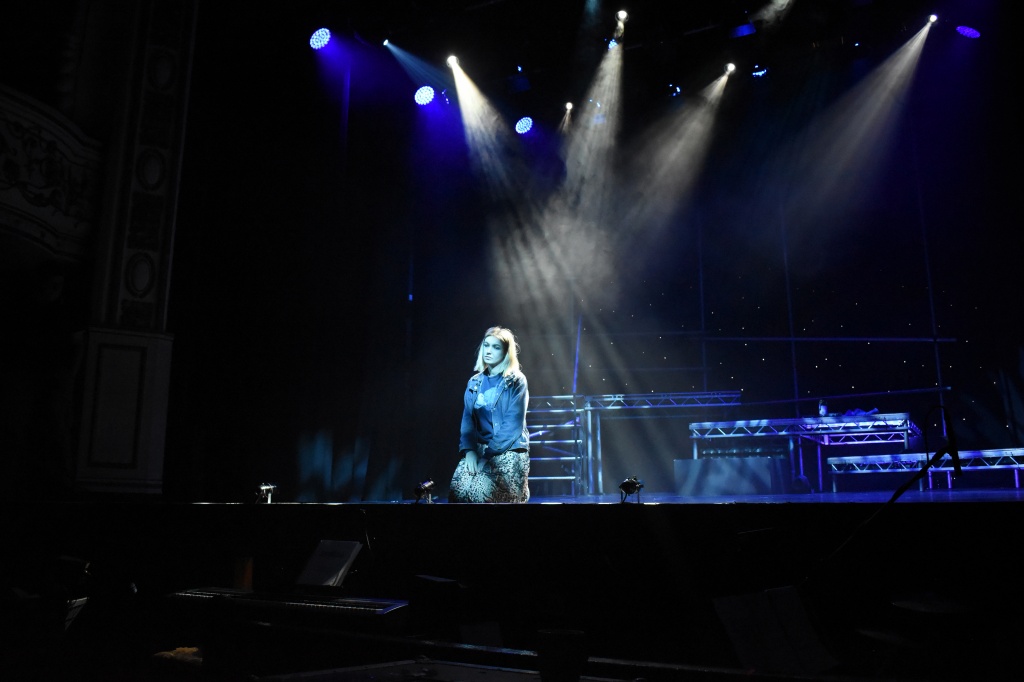
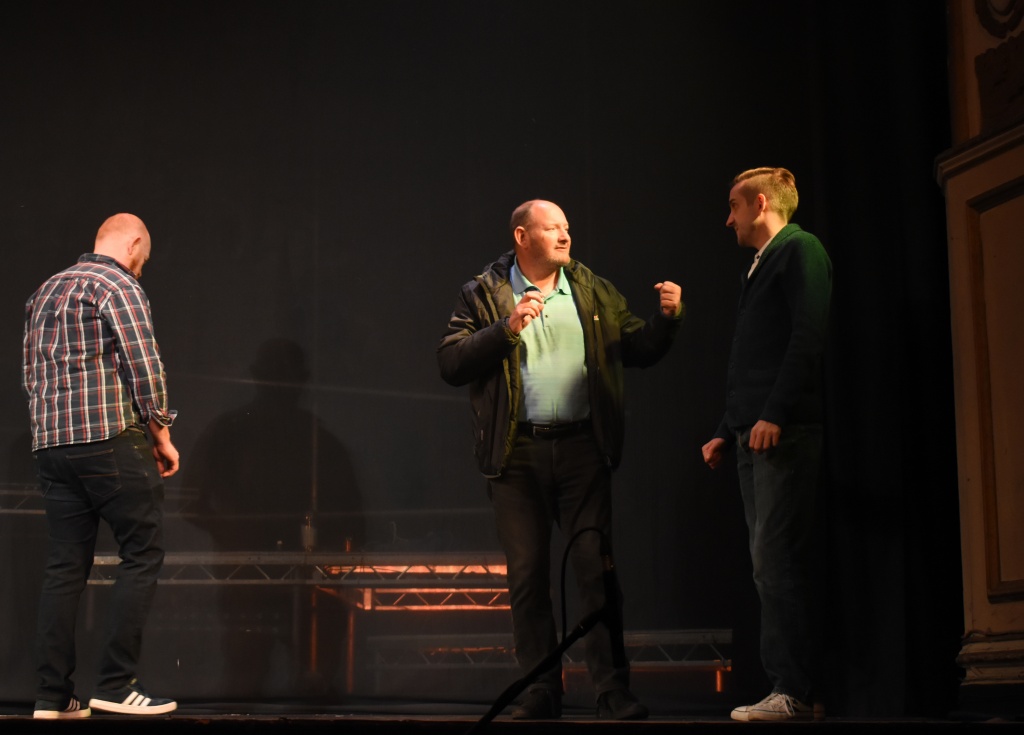
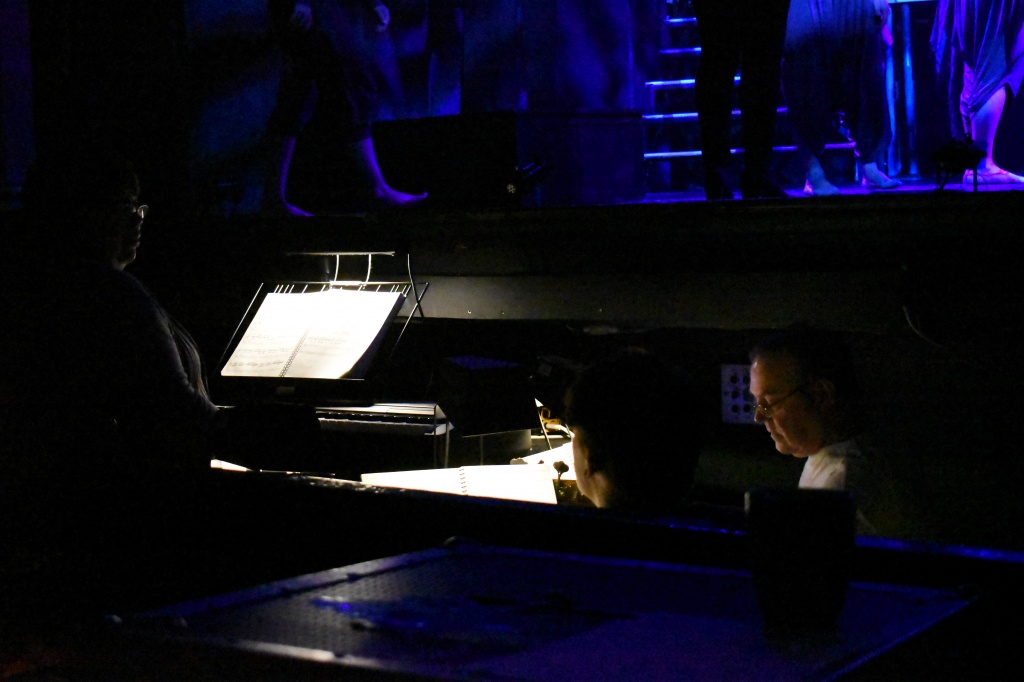
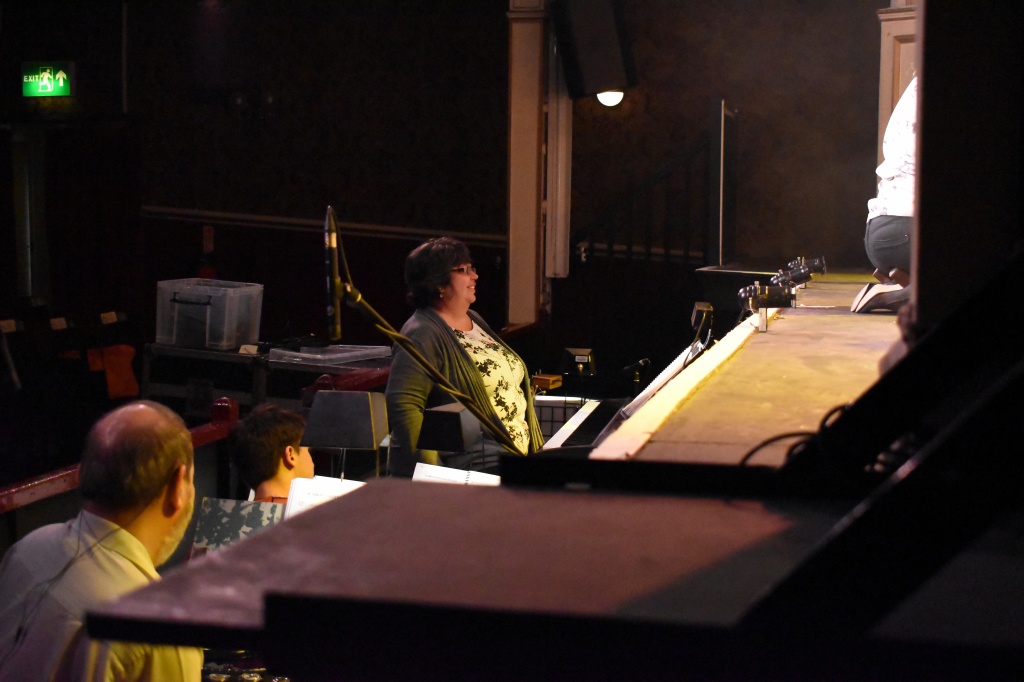
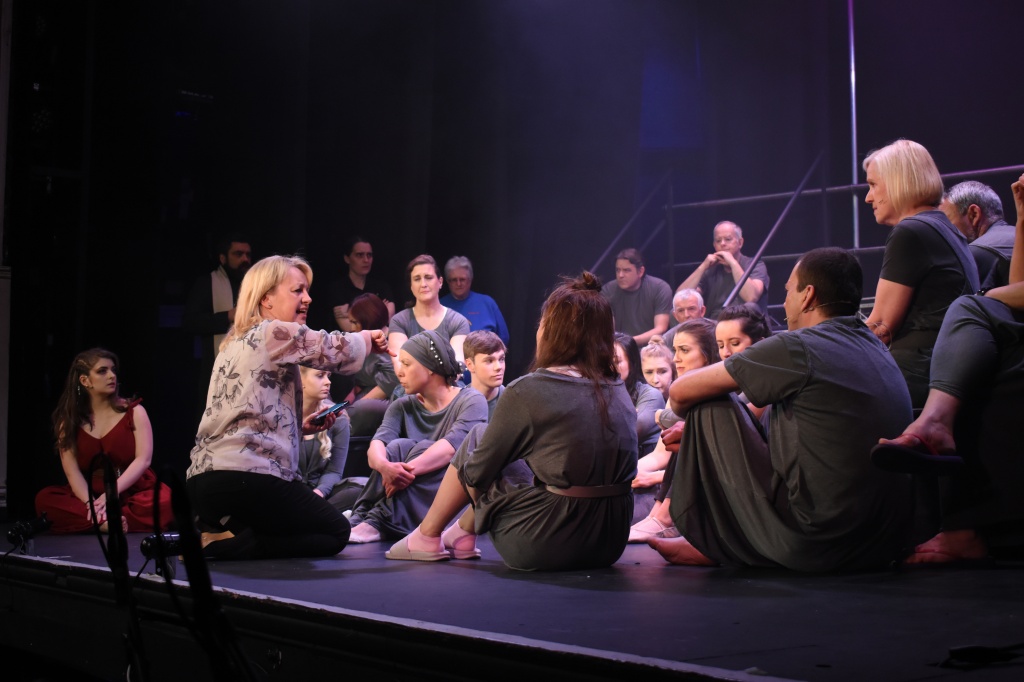
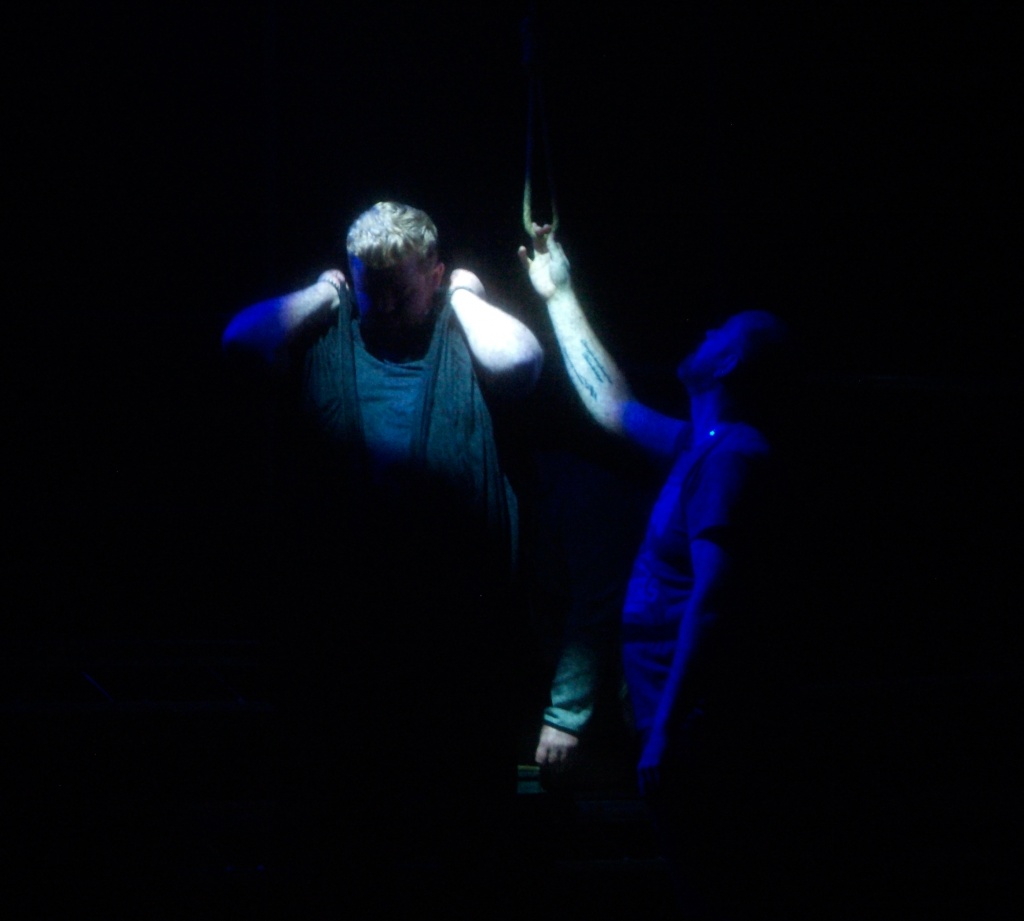


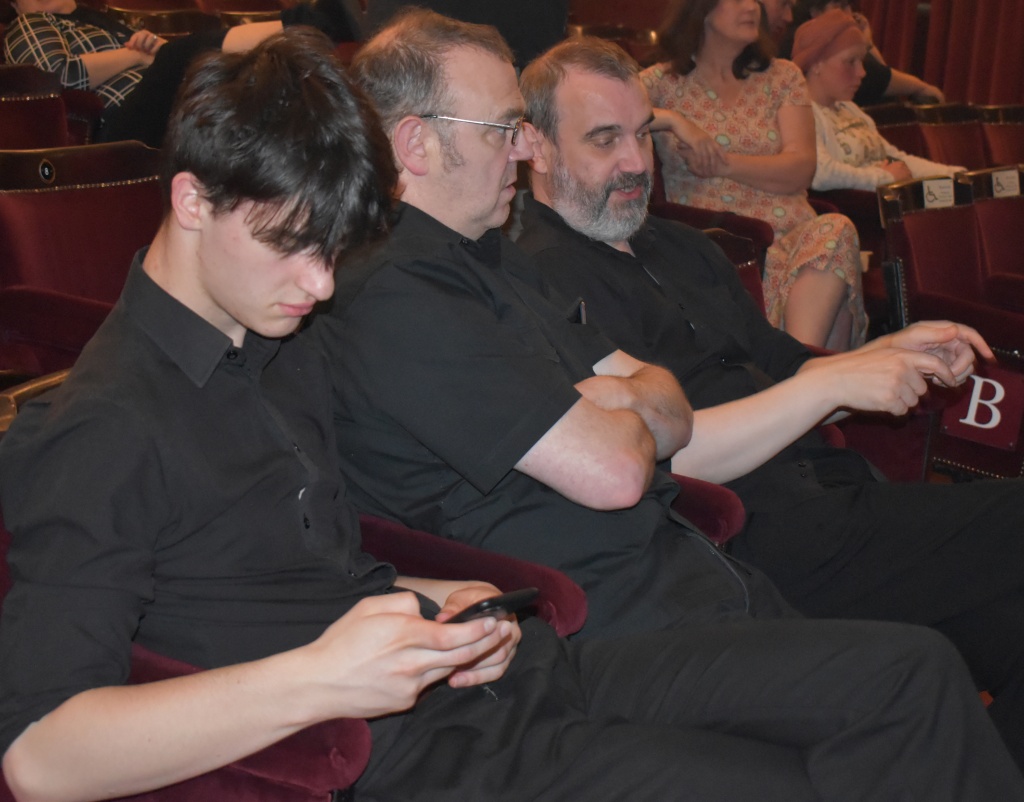
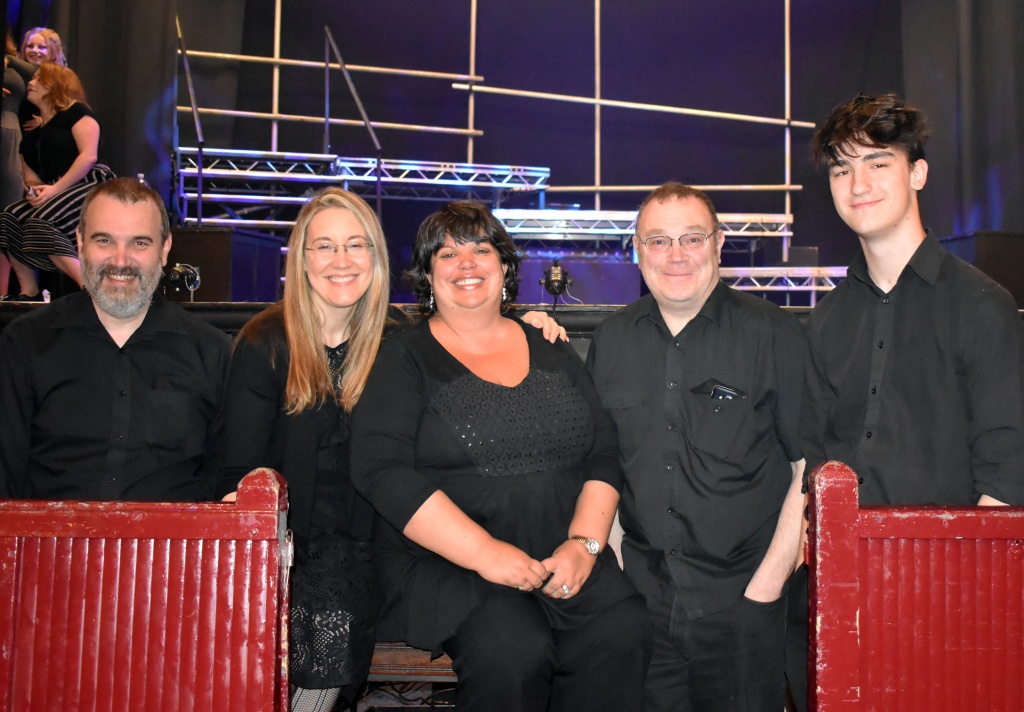

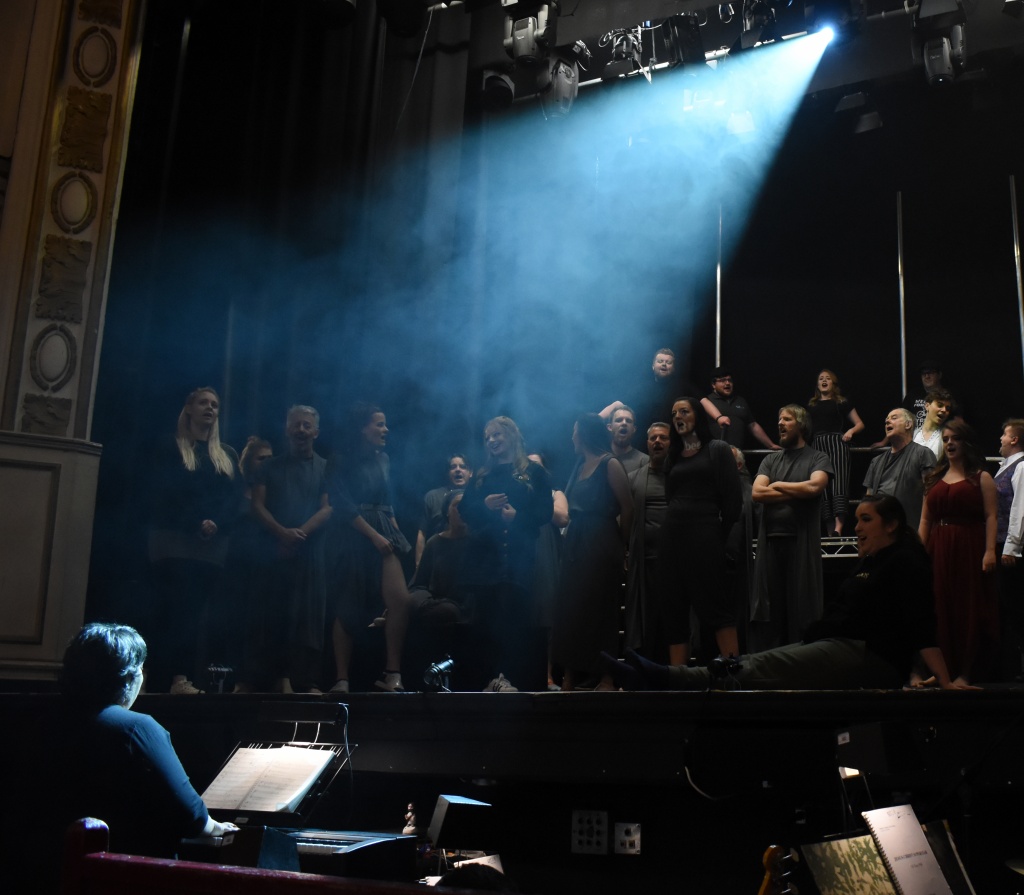
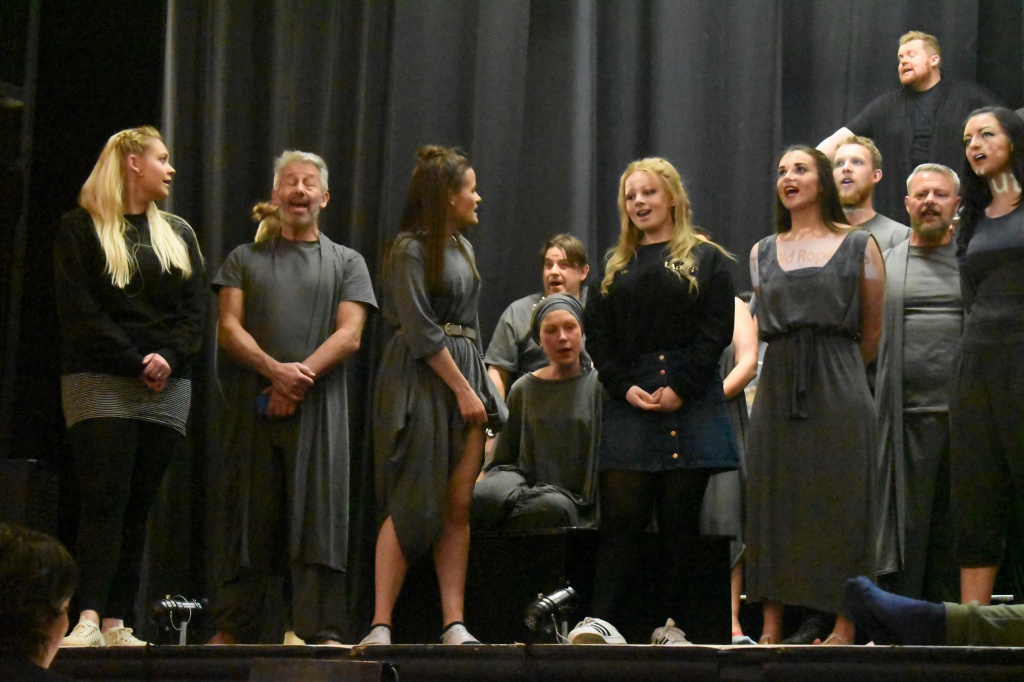
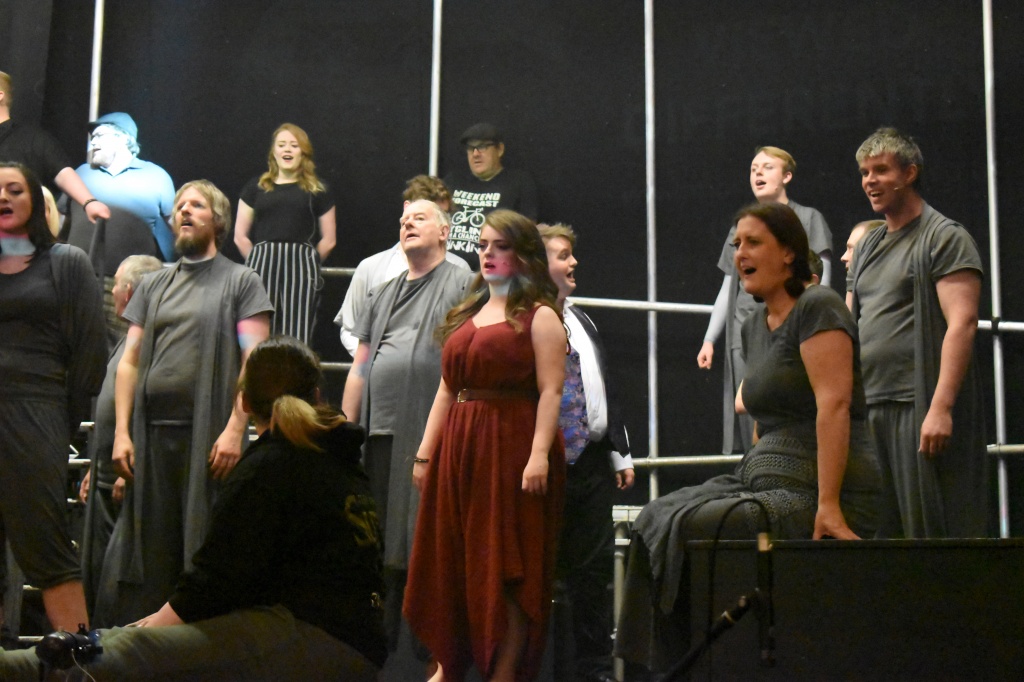
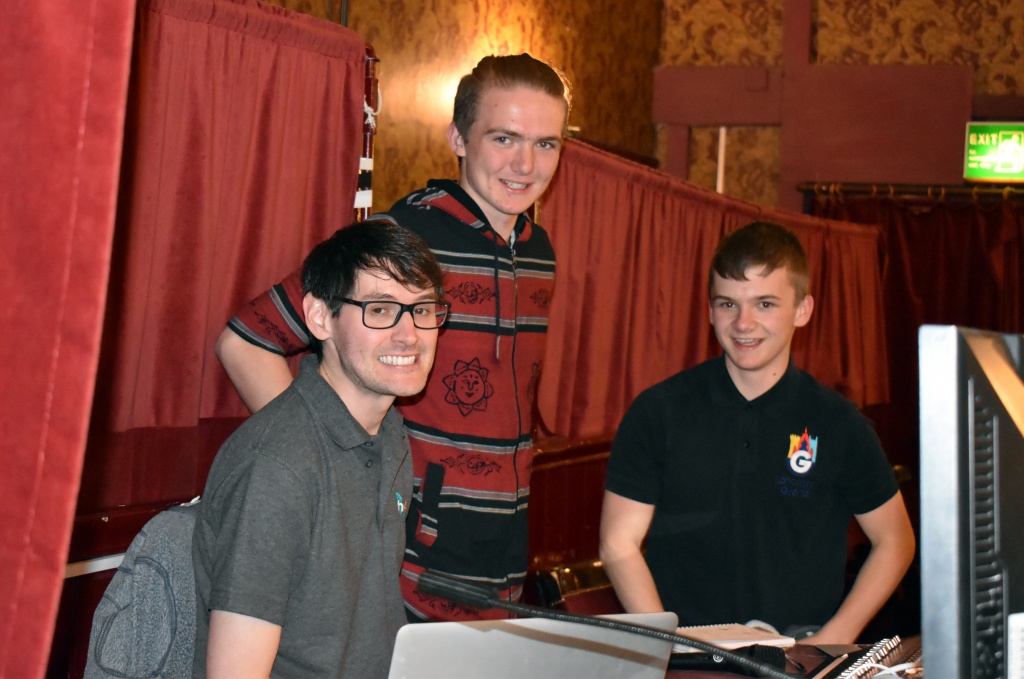
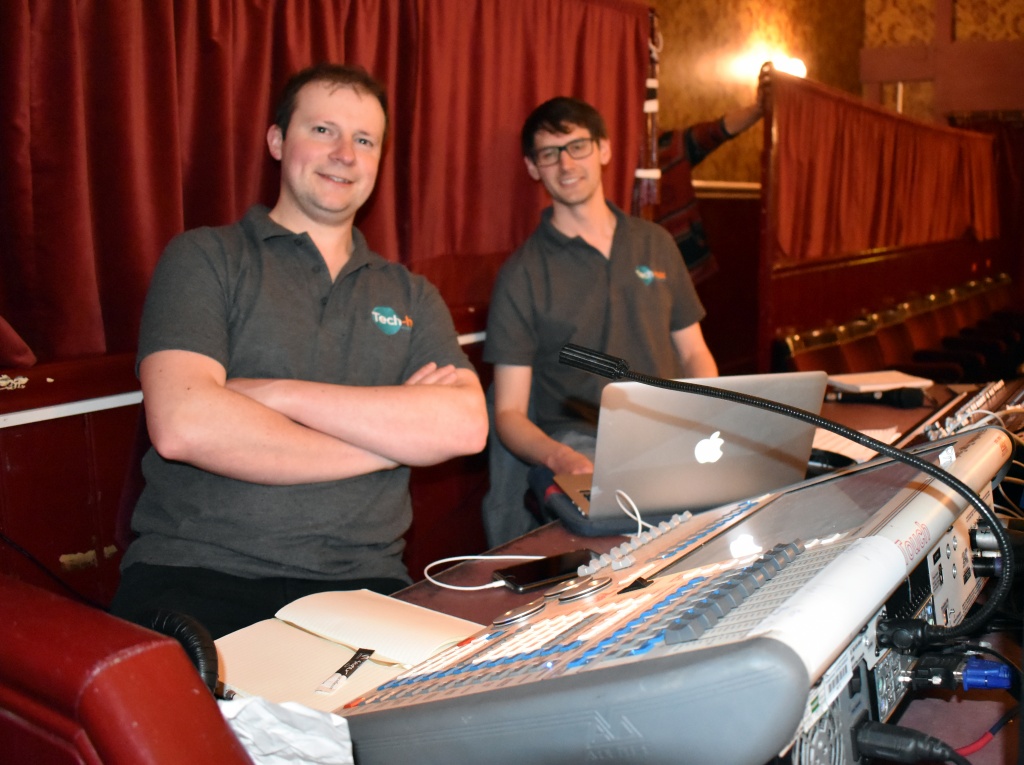
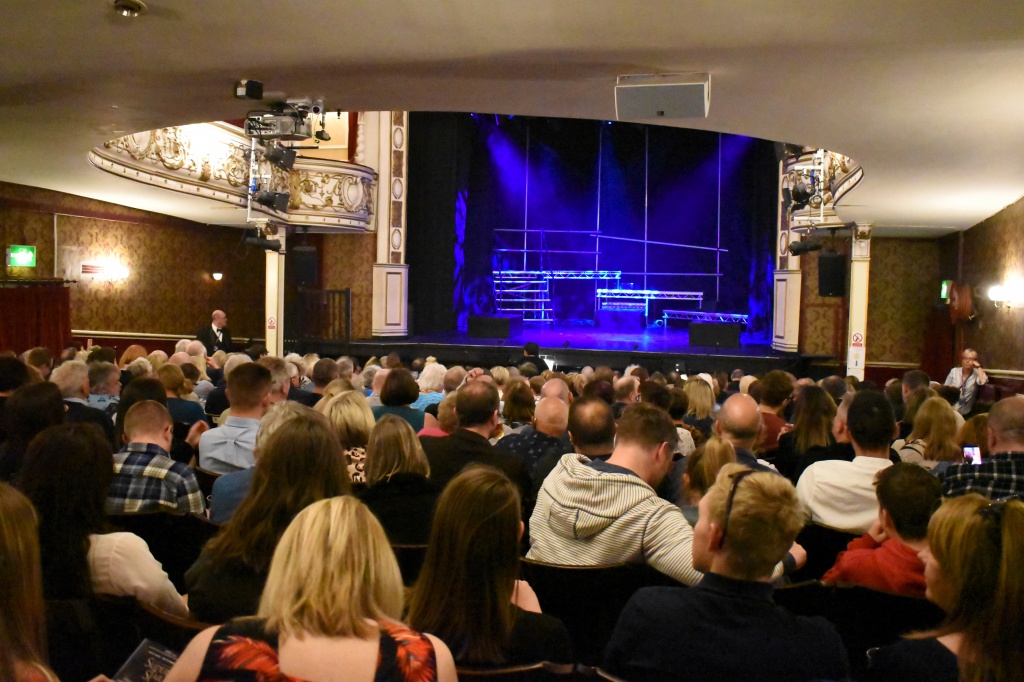
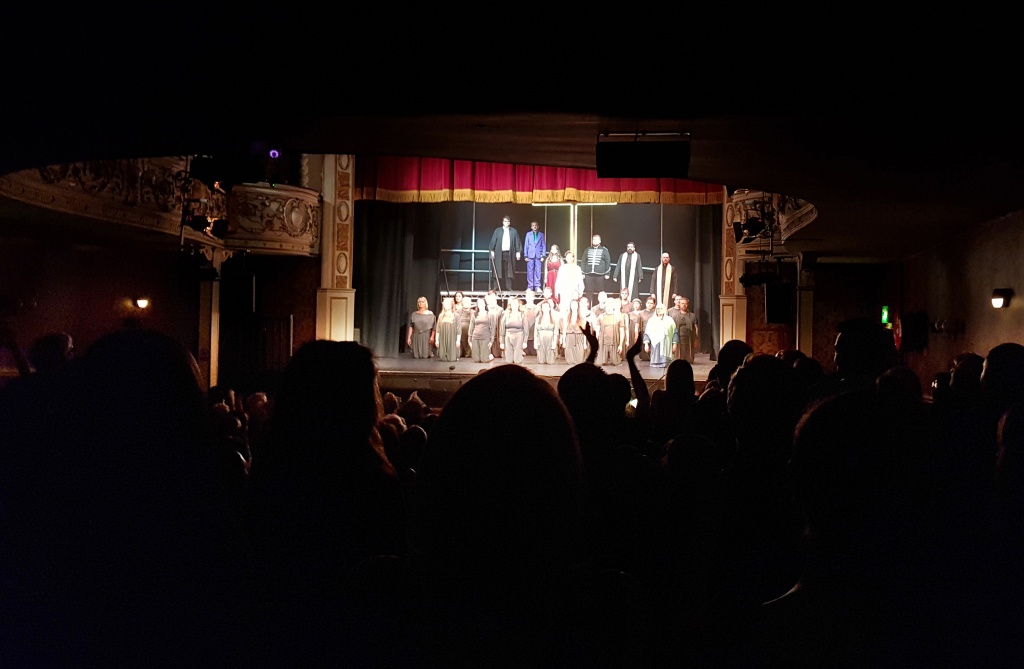

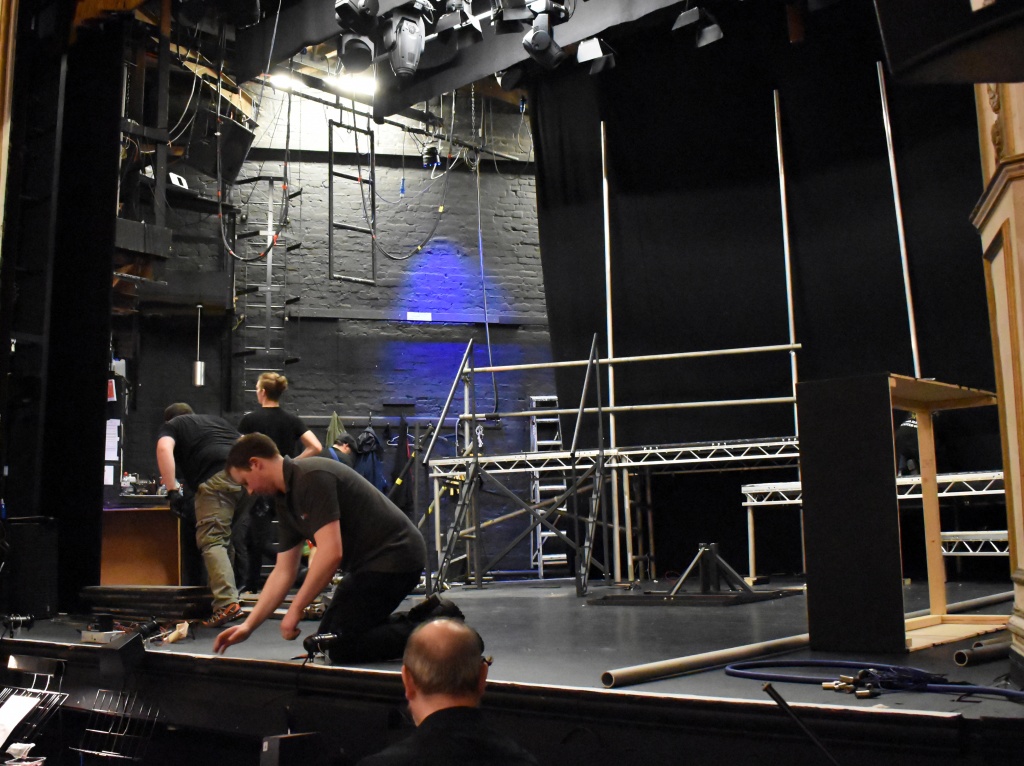
Photo Copyright © Mark Brierley


Copyright © 2005-2026 Lancaster Amateur Dramatic & Operatic Society
All Rights Reserved
No part of this website may be reproduced, stored in a retrieval system or transmitted in any form or by any means; electronic, mechanical, photocopying, recording or otherwise, without permission.
Registered Charity No. 515089
Contact Us - Privacy Policy
Copyright © 2005-2026
Lancaster Amateur Dramatic & Operatic Society
Registered Charity No. 515089
Contact Us - Privacy Policy
All Rights Reserved
No part of this website may be reproduced, stored in a retrieval system or transmitted in any form or by any means; electronic, mechanical, photocopying, recording or otherwise, without permission.